Integrating a DC fast charger into your existing network connectivity involves verifying physical connections, configuring software protocols, and testing communication. This guide outlines the prerequisites and steps required to connect new hardware to legacy IT systems and charging platforms.
- Verify physical network connectivity and power readiness before touching software.
- Use documented protocols to communicate between the charger and your charging platform.
- Test end-to-end communication to ensure session data flows correctly.
- Document every configuration change for future troubleshooting.
Integrating a DC fast charger into existing infrastructure requires more than plugging in a cable. It involves aligning physical hardware with logical software systems to ensure the new unit communicates reliably with your central charging platform and local IT environment. The process is technical and precise. Small misconfigurations in the network layer or protocol settings can prevent a charger from appearing online, even if the power supply is stable. The goal is a deterministic connection where the hardware reports its status accurately and the platform controls the session without interruption.
Check physical network connectivity and power readiness
Before any software configuration, the physical layer must be sound. A DC fast charger draws significant power and requires a stable data link. Inspect the charger’s network port. Most units use Ethernet for local communication, though some newer models support cellular or Wi-Fi.
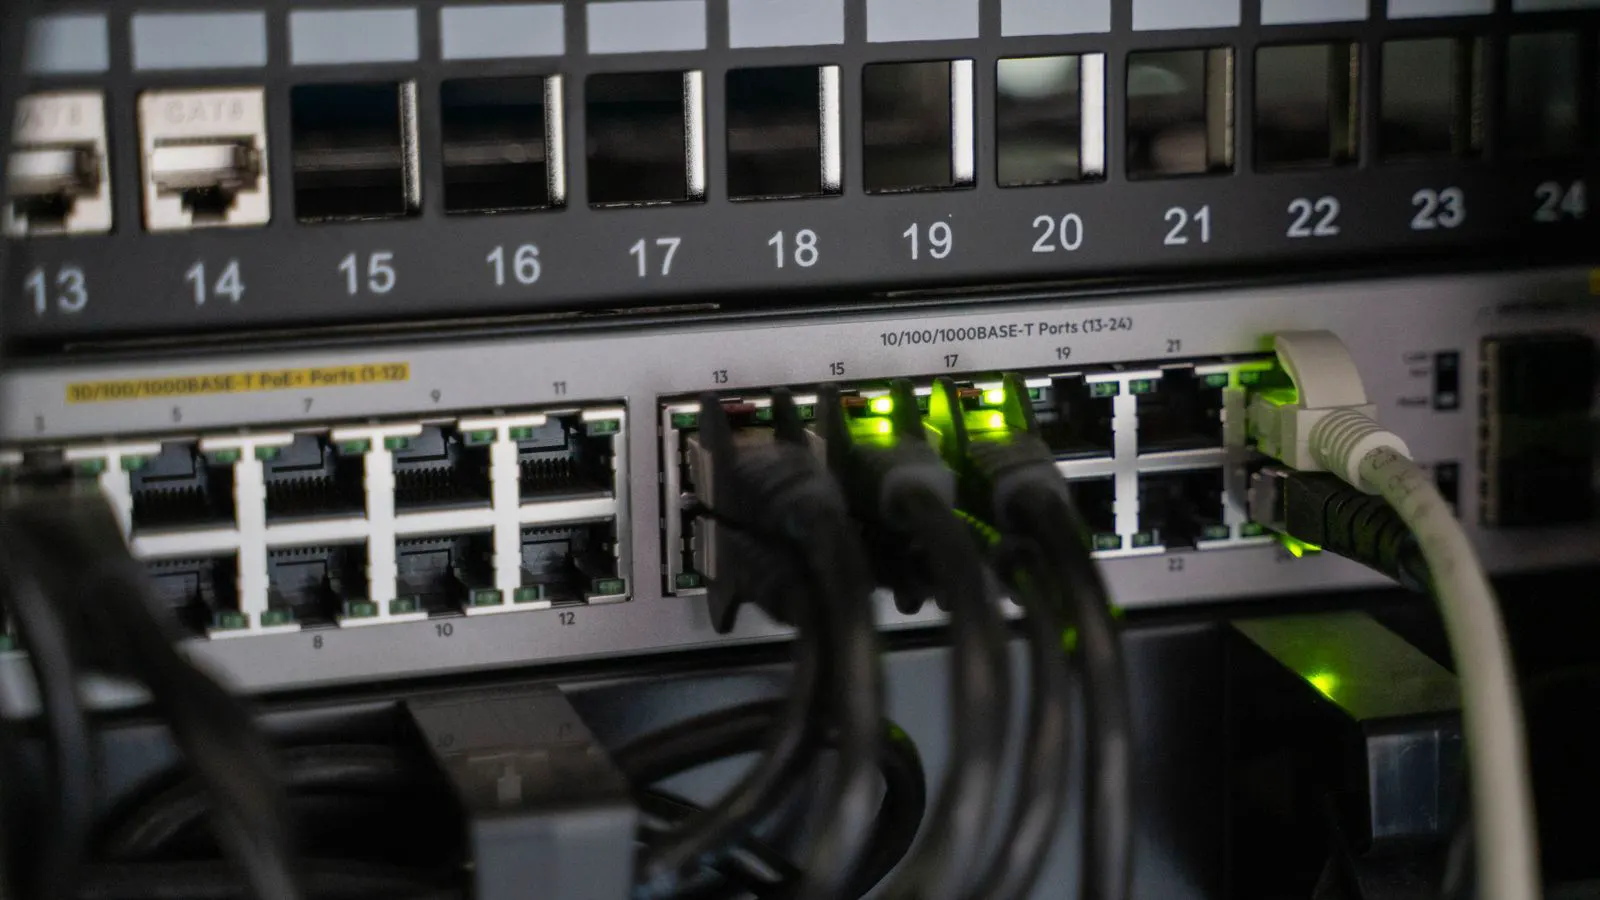
Confirm that your site has a dedicated switch port or a reliable access point. If the charger connects to the same network segment as corporate IT, ask your IT team to verify port speed. Fast chargers often send high volumes of telemetry data. A slower link can cause packet loss during a charging session. Packet loss manifests as missed status updates or delayed notifications to the driver’s app. A gigabit switch port is the standard recommendation for DC fast chargers to handle this bandwidth.
Check the power supply. Ensure the unit is connected to a circuit that can handle its maximum output without tripping breakers. A tripped breaker during a session looks like a communication failure to the software, which complicates diagnostics. The charger may go offline, but the root cause is electrical, not network. Verify the breaker rating against the charger’s maximum power draw. If the charger is rated for 150 kilowatts, the circuit must be sized accordingly. Do not rely on shared circuits that also power lighting or HVAC systems. Voltage drops can cause the charger to throttle output or disconnect mid-session.
Review protocol compatibility with your charging platform
Your charging platform dictates how the charger must speak. Most platforms support standard communication protocols, but your specific vendor may have proprietary layers or preferred methods.
Ask your platform provider for a list of supported protocols. Common standards include Open Charge Point Protocol (OCPP) for AC and DC, and various serial or TCP/IP methods for local control. OCPP 1.6 and OCPP 2.0 are widely used. Confirm which version your platform supports and which version the charger firmware implements. Version mismatches are a frequent source of integration failure.
If you are using a legacy system, the integration path may require a gateway device. This gateway sits between the charger and the platform, translating data formats. Confirm the gateway model supports the charger’s firmware version. Some gateways require specific driver updates to recognize new charger models. Check the gateway’s hardware specifications to ensure it has enough processing power for the number of chargers it manages.
Prepare the local IT environment
Network connectivity is not just about cables. It is about routing, security, and access.
The following table outlines the typical network components required for a DC fast charger integration.
| Component | Function | Typical Requirement |
|---|---|---|
| Switch Port | Provides physical Ethernet link | Gigabit speed recommended |
| Firewall Rule | Allows charger IP to reach platform | Open specific ports and protocols |
| DNS Entry | Maps hostname to IP address | Optional but helpful for logging |
| VLAN | Isolates charging traffic from IT | Recommended for security |
If your site uses a Virtual Local Area Network (VLAN), place the charger on a separate segment. This isolates the device from corporate servers and reduces the attack surface. Charging devices are often internet-facing or have open ports, making them attractive targets for malicious scans. If you do not use VLANs, at least ensure the charger has a static IP address or a reserved DHCP lease. A changing IP address will break your connection to the charging platform every time the device reboots.
Assign the charger to a specific subnet. This makes troubleshooting easier. If the charger goes offline, you know exactly which network segment to investigate. Do not place the charger on the same subnet as critical business applications. A compromised charger could potentially pivot into other parts of the network if the firewall rules are too loose.
Configure the charger’s network settings
Access the charger’s local interface. This is often done via a serial console port on the back of the unit or through a web-based admin interface. The serial console provides the most direct access and is useful when the web interface is unreachable.
Enter the network details determined in the previous step. Set the IP address, subnet mask, gateway, and DNS servers. Save the configuration. Double-check the subnet mask. A mismatch here will prevent the charger from communicating with the gateway, even if the IP address is correct.
If the charger uses cellular data, insert the SIM card and verify the APN settings. Cellular modules require a valid account with a data plan that supports high bandwidth. A standard mobile plan may not handle the sustained data rate required for telemetry and session logs. Check the data allowance. A DC fast charger can consume gigabytes of data per day during high-usage periods. Ensure the account has sufficient capacity to avoid service suspension.
After saving, reboot the charger. The device will pull its new configuration and attempt to establish a connection to the local network. Observe the status lights during the reboot. A solid light often indicates a successful connection, while a blinking light may indicate a negotiation in progress or an error state.
Map the charger to your charging platform
With the device online, you must register it in your software. Log into your charging platform’s admin dashboard.
Locate the section for adding new hardware. You will usually need the charger’s serial number, MAC address, or a unique identifier generated by the device. Enter these details accurately. Typos in the serial number will prevent the platform from linking the device to the physical unit.
Assign the charger to the correct site and business unit within the platform. This metadata is used for billing and reporting. If you have multiple sites, ensure the location tags are correct. Incorrect location data leads to inaccurate reports and billing errors. Verify the coordinates if the platform uses GPS mapping for driver navigation.
Set the default authentication method. Decide if drivers must authenticate via RFID, app, or card. Configure the permissions for the specific charger. For example, you might restrict a particular unit to a specific user group or limit its power output based on the site’s electrical capacity. Power limiting is a common feature used to prevent grid overload during peak hours. Set the maximum power level in the platform to match the physical circuit rating.
Test communication and session data
Do not rely on a green light. A device can be powered on but not communicating with the platform.
Check the platform’s device status page. The charger should show as “Online” or “Connected.” Look for the last reported timestamp. This confirms that the charger is actively sending data. If the timestamp is stale, the charger may be stuck in a retry loop.
Initiate a test session. Use a test card or a test app if available. If you do not have a vehicle, some platforms allow a “dry run” or status check. This simulates the connection without delivering power. It verifies that the authentication process works end-to-end.
Verify that the session data appears in the logs. Check for timestamps, energy delivered, and status changes. If the platform shows a session but the energy data is missing, the connection is partially failed. This often points to a firewall issue or a protocol mismatch. Ensure that all required ports are open in both directions. Some protocols require inbound connections for status updates and outbound connections for control commands.
Common mistakes in network integration
Several errors derail the integration process.
IP Address Conflicts: If the charger’s IP matches another device on the network, communication will fail intermittently. Use a static IP or a reserved DHCP lease to prevent this. Check the switch port for duplicate IP alerts. A duplicate IP conflict causes the charger to drop its connection repeatedly, creating a pattern of online and offline events in the platform logs.
Firewall Blockages: IT teams often block unknown traffic by default. If the platform cannot reach the charger, check the firewall logs. You must allow traffic on the specific ports used by the communication protocol. Review the logs for denied packets. Identify the source IP (charger) and destination IP (platform) to confirm the rule is being applied correctly.
Firmware Mismatches: If the charger firmware is outdated, it may not support the latest version of the protocol used by your platform. Check the vendor’s release notes for compatibility before deploying. Some firmware updates introduce new features or fix security vulnerabilities. Ensure the charger firmware is up to date before connecting it to the production network.
Incorrect VLAN Settings: If the charger is on a VLAN that does not route to the internet or the platform’s servers, it will appear offline. Verify the routing table and default gateway. Test connectivity from the charger’s IP address to the platform’s server IP. Use a ping command from a device on the same VLAN as the charger to verify basic reachability.
Ignoring Power Limits: A charger may connect to the network but fail to start a session if the power supply is insufficient. Check the electrical panel and breakers. Inspect the wiring for loose connections or damage. A power limit violation will trigger a fault code on the charger, which may appear as a communication error in the platform.
Final verification and documentation
Once the charger is communicating, perform a final check. Monitor the device for 24 to 48 hours. Watch for disconnects or reconnection events. A stable connection will show a consistent online status. Fluctuations indicate an unstable network link or a power issue.
Update your site’s network diagram. Add the new device, its IP address, and its MAC address. Note the VLAN ID and the switch port it occupies. Accurate diagrams are critical for troubleshooting. If the charger goes offline, you need to know exactly where it sits in the network topology.
Document the configuration settings. Save a copy of the firewall rules and the platform device profile. This documentation is vital for future maintenance and for onboarding new staff. Keep a log of firmware versions and any specific settings applied during integration. This record helps identify changes that may have caused a problem.
If you are integrating multiple chargers, repeat this process for each unit. Use a spreadsheet to track the status of each device. This ensures no charger is left unconfigured or unmonitored. Track the serial number, IP address, installation date, and last firmware update for each unit.
Integration is not a one-time task. Monitor the connection over the following weeks. Software updates on the platform side may require reconfiguring firewall rules or updating the charger’s firmware. Keep your IT team and the charging platform provider in communication. Establish a support channel for urgent issues. A quick phone call can resolve a protocol mismatch that would otherwise take days to diagnose.
Frequently asked questions
Do I need a dedicated network for the charger?
A dedicated VLAN is recommended to isolate charging traffic from corporate IT. This improves security and reduces the chance of interference from other network activities.
What should I do if the charger shows as offline?
Check the physical cable connection first. Then verify the IP address configuration and firewall rules. Confirm that the charger's IP is not conflicting with another device.
Can I use Wi-Fi for a DC fast charger?
Wi-Fi is possible, but Ethernet is generally preferred for reliability. Wi-Fi signals can be weak in basements or large parking structures, leading to intermittent connections.
How do I update the charger’s firmware?
Follow the vendor's documentation. Usually, updates are pushed automatically by the charging platform or installed manually via a USB drive or web interface. Always back up settings before updating.
What if the platform uses a protocol I am not familiar with?
Contact the platform provider for integration documentation. If the protocol is proprietary, you may need a gateway device or a specific API key to communicate with the charger.